Showing posts with label DIY. Show all posts

Wednesday, August 12, 2015

On a roll here


Greetings friends! I hope you are having a great August so far.  I can't believe kids are back in school in parts of the country.  Our schools start around Labor Day here, but there is definitely a hint of fall in the air, and the swimming pool water is getting colder!  Lots happening around here so I'll share a few projects going on.

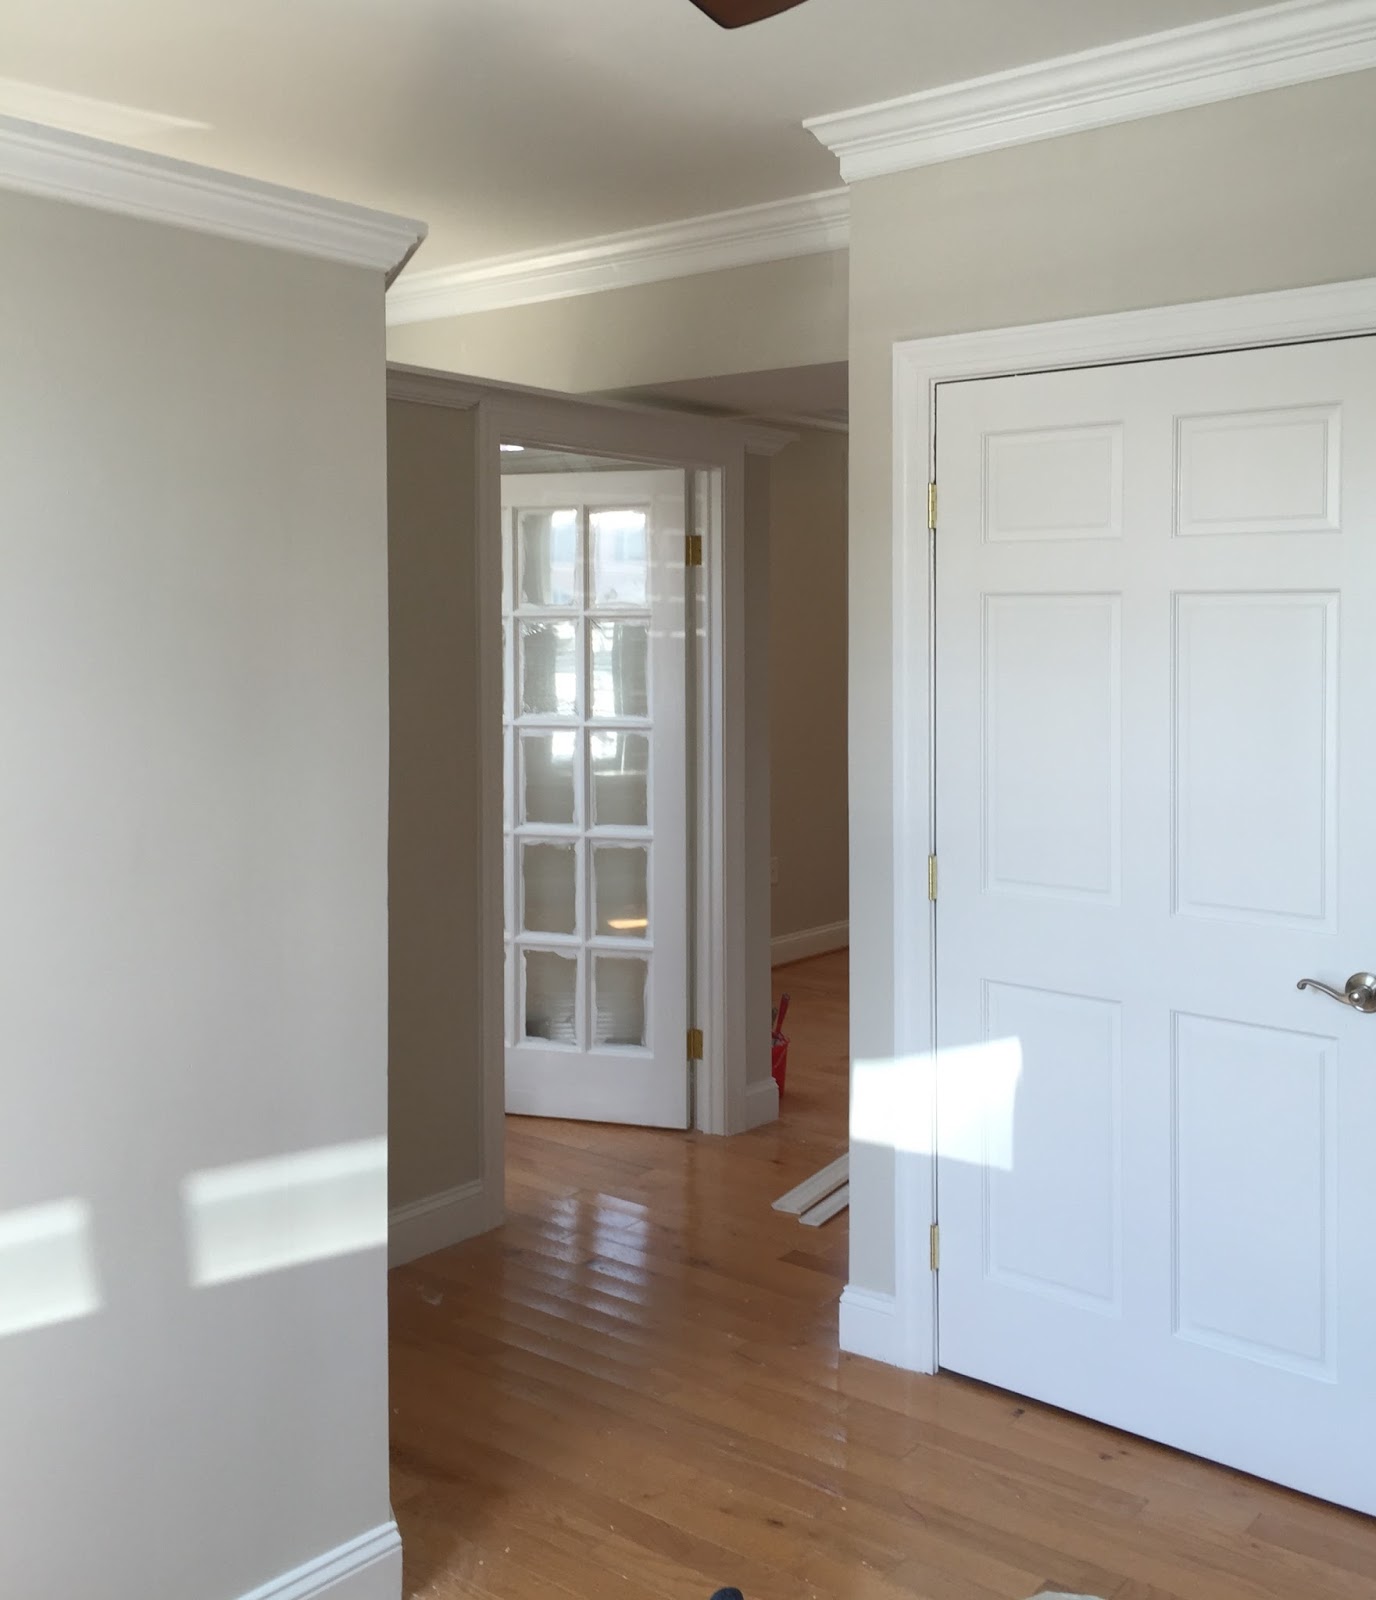
A new office project with old town charm is in the works to be installed in a month.  Here are a few of the design boards and the direction it is going in.  The wall color is BM Winds Breath.


Next we have a country dining room makeover with alot of pop, starting with this newly acquired fabulous vintage Kilim rug.


It has been fun building the design plan around this.  Here are some fabric choices (still to be edited) to go with fabulous Phillip Jeffries grass cloth on the walls.


We have 2 clients with these window walls- a very common scene in the newer houses in our area.  I love a good challenge!


The second image goes with this kitchen remodel with new counters, floors, lighting and furnishings.


We're on a roll here and also working on Bethany's home and, gulp, I started painting my kitchen cabinets- I know, a little crazy at the moment.


Follow Bethany and I on Instagram for updates! Have a wonderful last month of summer.


Tuesday, July 14, 2015

Evolution of a fireplace


When Bethany moved to her new home one thing she felt that she had to do immediately was tame that fireplace wall.  The mantle was unusually high which threw the whole look off, so the first solution was to paint it all white.


Painting the interior doors black helped, but the white fireplace just wasn't the answer; the height still bothered us.


Then she recruited her brother and hubby to tear down the mantle and frame it with shiplap. They used high grade pine 1" x 6"s.  I later painted out the white in favor of black brick.


We love this result and though may one day stain the shiplap, we like it 'au naturel' for the moment.


This house is so fun to work on! We are taking it slow and in stages. Her Stark cut and bound room size sisal is a magnificent addition.  1st layer complete!


Monday, July 6, 2015

How to refresh your artwork


I have some equestrian posters that mean alot to me and I wanted to use them in my updated family room, but they were the wrong color frame and the wrong color mats.

Have you priced custom mats lately? Insane.  Even though I can cut my own, my equipment didn't lend itself to this large custom size, so I searched online for alternatives and didn't find any for less than $120.00 per mat.  (I'm saving for some new chairs!)

For starters, I disassembled the prints and spray painted the frames gold. I used Rustoleum satin gold.

The simplest solution to lightening your mats without having a new mat cut, is to cover them in a linen or muslin fabric.  I wanted to use linen but didn't want to wait for an online order, so I headed to the local fabric store and selected 2 yards of unbleached muslin, at a whopping $2.99 a yard.
[I had to dig in the archives to find a 'before' picture, and this is a rude reminder of how gawd awful those walls used to be!]


I turned the navy mat over so it was white on the other side.  This was a single mat, and I made sure I erased any former pencil marks on the back, as it would show through the muslin covering.  

I cut the fabric about 1 inch larger than the mats .  Then I took spray adhesive and sprayed the mats and placed the fabric over the glue and smoothed it with my hands.


Then I trimmed the inside to about 1" as well. [Make sure your razor or scissors are extremely sharp or the corner cuts will be messy.]


Turn the secured fabric covered mat over to make angled cuts in the corner to turn back the fabric.


The other poster had a double mat, but I just stretched the fabric over both mats and didn't worry about it. I experimented with putting the muslin over the colored double mat, and even though its not the same ivory color as the other matted poster, it is grayed a bit and matches that poster better....a happy accident.


It's really easy and try it on a small piece first if you need to build your confidence.  All you need is fabric, spray adhesive and a sharp cutting utensil.  [ I used a single edge razor.]

I love the fabric covered mat look.  I hope this offers an easy solution to update your matted art!


P.S.  Since launching our website on www.powellbrower.com it seems many of you are having issues finding us.  We apologize for any inconvenience.  You will need to update your link to our blog with:
Email me [info@powellbrower.com] if you can tell me your issue and who your blog is registered with, if you have a moment.  Thanks and hope to see you soon!

Monday, January 12, 2015

PBI Design Lab


I was not liking the drum shade in my foyer anymore and thought I'd play with 'statement lighting' ideas I've been toying with.


I've had this idea for months and finally initiated it late one night.  I was inspired by the idea of pressing leaves between wax paper as a kid thinking that cloudy translucent material might work with my idea.
I cut out leaf shapes out of strips of pressed wax paper, doing several strips at a time.


Opening up the seams I had shapes like this (excuse the late night poor iphotos, but that's the only progress shot I got.)


I have no idea is this is something I will keep for long, but it is a fun change from the ordinary. 


We love to use our own homes, aka Powell Brower Interiors Design Lab, for spontaneity and experimentation!  


Wednesday, July 16, 2014

DIY leather and wood shelf


This project isn't brain surgery but I continue to have fun with projects in our design business.  Putting my 'hand stamp' on things in a room makes it feel more special, plus I'm a 'hands on' kind of girl and my brain is always conjuring up and testing new ideas.  This one is unbelievably simple.


1. Find some matching leather belts ( I got mine at a thrift store for 1.50@) and cut off the buckle. Make the 2 straps the same length and 'square' the ends.

2.  Cut your scrap of wood the length you need. I made mine 24" x 8" long so it would span the 16" wall studs.

3. Figure out the placement of the shelf on your walls and mark the studs.  Nail right through the leather into the wall studs.

4.  Place the shelf between the leather straps.  No real need to adhere the straps to the wood; it's not going anywhere!

I don't know of an easier way to make and hang a shelf!  Hope you can use this idea! 


Wednesday, June 4, 2014

DIY Lighting 101


Bethany and I are obsessed with light fixtures and have been trying our hand at designing and executing our own.  This simple pair of pendants was one of our first tries.  They now belong to a client whose home we are continuing to work on, but boy, this was a fun and super easy creation.


We bought 2  new aluminum hammered trashcans and cut holes in the top with a hole saw (used for cutting holes for door hardware). We got our pendant kits from Lowe's, but I have also bought alot of hardwire kits from World Market.


Hopefully this will encourage you to give DIY Lighting a try.  I'm currently into a large DIY fixture for my dining room  now and will post that soon.  

Shine on!


                                 Check out our feature on Driven by Decor - thank you Kris!

Tuesday, May 27, 2014

Outdoor Project Accomplished!


We have lived in this house 20 years and the chain link fence around the pool was on the list to replace, you know how those lists go, for years and years. It was just not in the budget to have the kind of custom wooden or iron fence we wanted professionally done.


My husband got the brilliant idea this winter of using the existing metal posts that are in concrete, so we didn't have to dig new post holes.  He  built a 4" x 4"x 54" long box around each pole (securing the wood with metal straps to the pole) and then screwed the horizontal boards to the new wooden post. Because it is taller than a deck fence and 'stock' slats, we had to custom make each slat 48" tall. 


We started our pool yard fence project mid April, and I was complaining about how hard it was in this post . By Mother's Day we had done about 10 sections and were doubting we would meet our goal of completion by pool opening Memorial Day.  My son came home for my birthday and Mother's Day and helped us whip out 13 sections in 2 days- best present ever!  We put the last section up this weekend and are starting on the finishing touches.


We need to get some hardware for our custom double gates and put a few finishing touches on, but basically we are done.  It is so rewarding to look out there and see that we made this entire fence ourselves.  The materials cost us aprox. $1700 and the labor was free! I feel a huge sense of accomplishment and we saved thousands of dollars.  Thank God I don't have to paint it 'til the fall or spring, since it has to 'season', but I am really liking it this natural wood color.

Thanks for following along and enjoy your short week! 


P.S. Don't forget to check out this and other featured DIYS the last Friday of each month on the Best of the Nest!


Monday, March 17, 2014

DIY X Benches

I have been bugging my husband for months to make me some "x benches" and he made me two for Christmas! I was so swamped at the time I got them, that I put off doing the upholstery until things slowed down and I decided on fabric. 


 I bought this beautiful metallic herringbone linen  from GrayLine.  When it came it was honestly so overly shiny and metallic that you couldn't see that it was linen, just silver.  So, I washed and dried it, which calmed it down a bit.

Here are the steps and materials I used:

1-2. Cherry wood bases and plywood square tops with a raised cherry trim around the seat (and an extra top piece to staple the fabric to) 
3. Using the plywood square cut to eventually set in the recessed top, I used it as a template to cut the foam with a bread (serrated) knife..just like cutting a loaf of fresh bread with a sawing motion.
4. Making sure the foam was slightly over the edge of the plywood
5. Materials needed for the cushion are foam, 3M spray adhesive and a serrated knife. (an electric knife is great for cutting foam, but I didn't have one.)
6-7. Using a staple gun secure one side, then it's opposite side repeatedly, moving around the square pulling the fabric taught, as you are stapling it to the plywood (just like stretching a canvas for painting)
8. The top fabric covered foam piece is set into the recessed trim around the top of the bases, screwed from underneath 
9. The finished product and here it is in it's current spot (soon to be rearranged....).


Have a great week, and don't forget to enter the sconce giveaway!  Thank you all of our blog friends and readers for your honest feedback and continued support for our post last Friday. We really appreciate you all and thank you for your kind words!


enter here